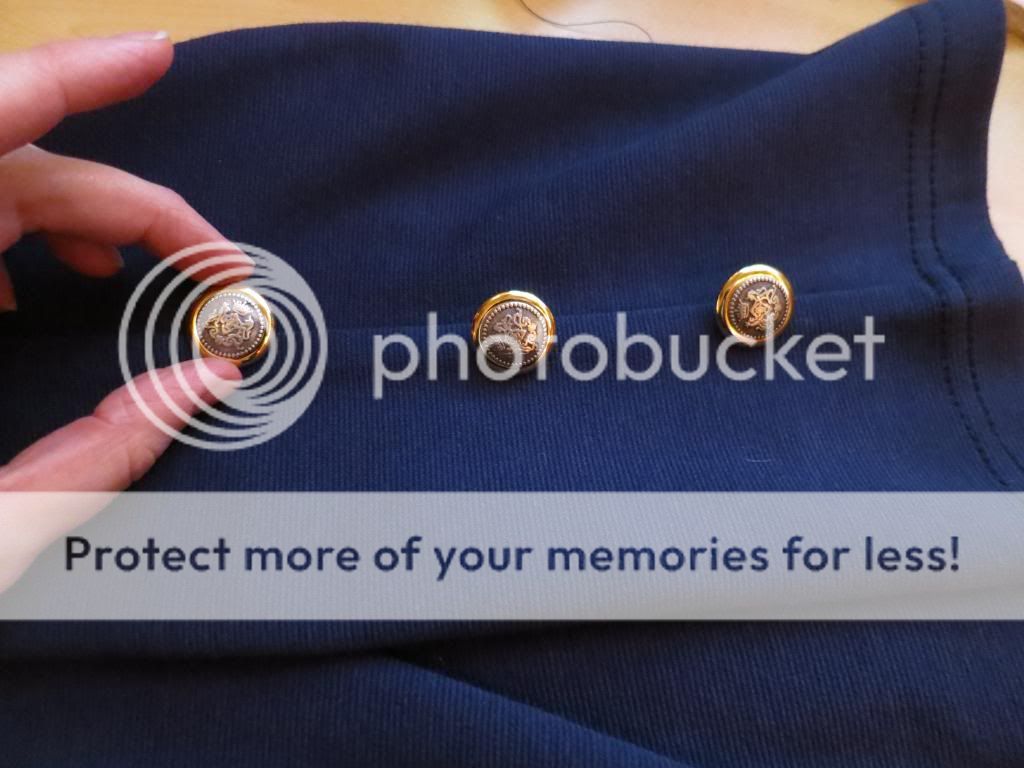
I did this one the same day as my text tee with lace. You could say I was in a really creative mood that night. I wanted to wait and post if for the prefect moment. And since I just made a pair for my mom, why not post about it now!
This DIY was inspired by Seattle's own Jimi Hendrix. There's no denying how talented, sexy, and stylish he was. Someone who truly went to the beat of his own drum. Back then people had no idea what to think of his clothes. But now a days he's a style icon.
While I was watching this phenomenal PBS special on him I was completely floored by his fashion. I loved how wild, bold, unique, colorful, and loud it all was.. He wasn't afraid to mix and match, wear strange shades of color. He played with layers, accessories, and even did some gender bending with some of his more feminine pieces. He didn't care. He just knew he could pull it all off.
But best of all was the tiny details that went into all his looks. For example; buttons at the bottom of his jeans.
Hence this DIY.
All you need;
pants (or leggings - I used legging pants from H&M that were on sale)
safety pins (optional)
buttons
thread the color of your pants
needle
1. place using the safety pins, pin your buttons in space. The buttons should be pinned on the seam of the pants. Evenly space on both legs.
2. You can keep the safety pin in place if you are worried about it moving around or remove during the sewing process. Use the seam to your advantage, sewing into it.
3. Keep placing each leg next to each other to check for all the buttons being evening.
4. Wear & Share!
This DIY is so delicate and tiny but once people notice it's a true POP to any outfit. Best part you can do this to any boring plain pair of pants to lively them up. And mix and match with the buttons you use.


No comments:
Post a Comment