
BAM! Go on tumblr find inspiration.

I bought this hoodie awhile ago from Red Light on Broadway in Seattle for $12.00. It's an American Apparel hoodie dress. I don't even think they make these anymore, but either way, for this DIY any plain pull over hoodie will do.
So I'll try my hardest to explain this DIY. With most of my DIY it's trail and error. This one for some reason took a few stupids ideas first to finally get the right look.
Supplies:
scissors
fabric with a pattern of your choosing
pins
thread
sewing machine (or if you can/want to hand sew)
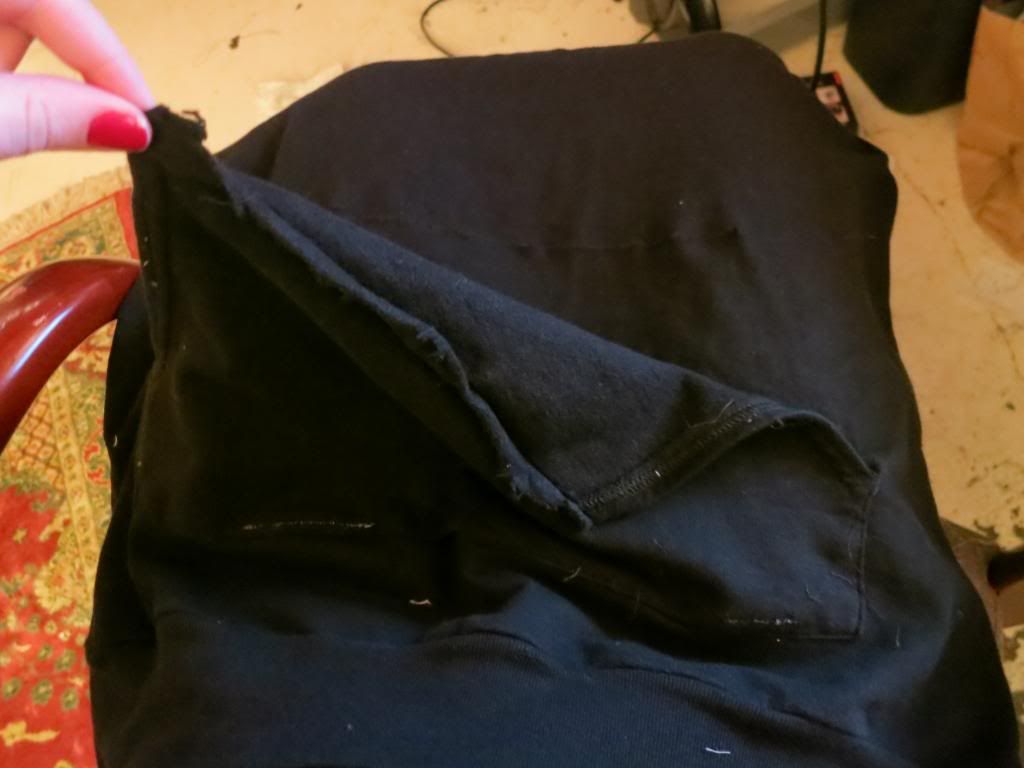
pull-over hoodie


pull-over hoodie
(Even for DIY I had to wear my MTTM leggings)
1. Using the hoodie pocket, trace and cut the size of the patch with your farbic. Make sure to give yourself about half of inch of room.
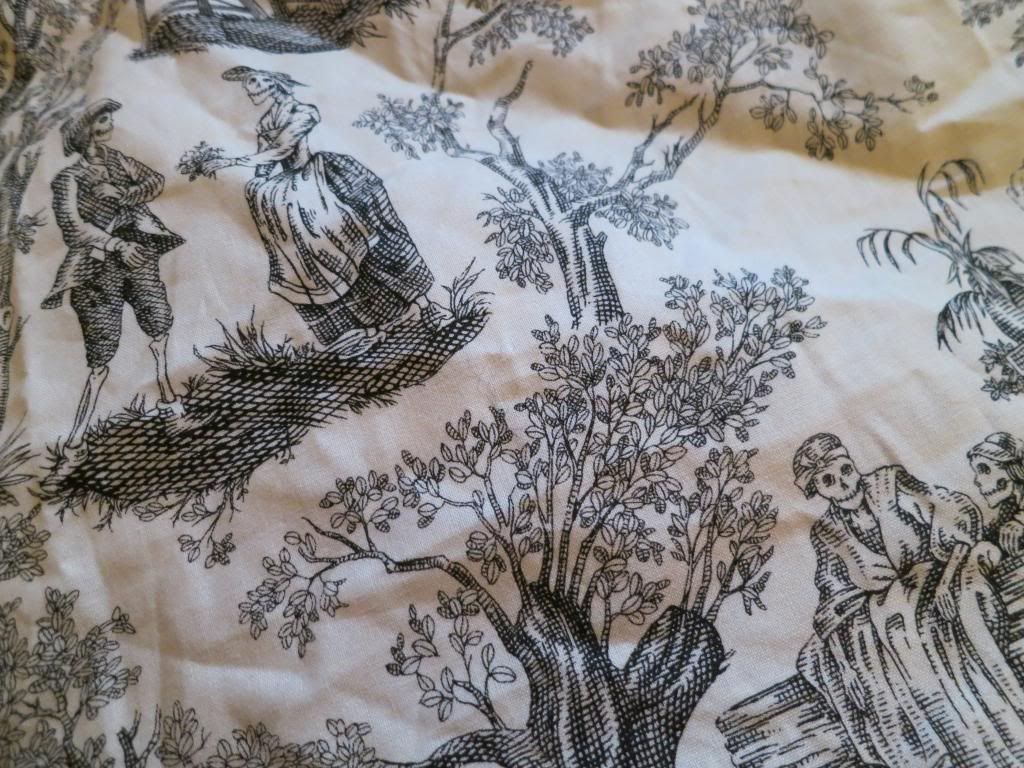
I had this awesome, strange skull one that I already made a shirt out of and had left overs.
I had this awesome, strange skull one that I already made a shirt out of and had left overs.
2. Cut the top of the pocket and side off. Keep the bottom attached to the hoodie.
3. Fold and pin down your fabric all round your pocket. (Do no pin the bottom yet, just the top and sides.)
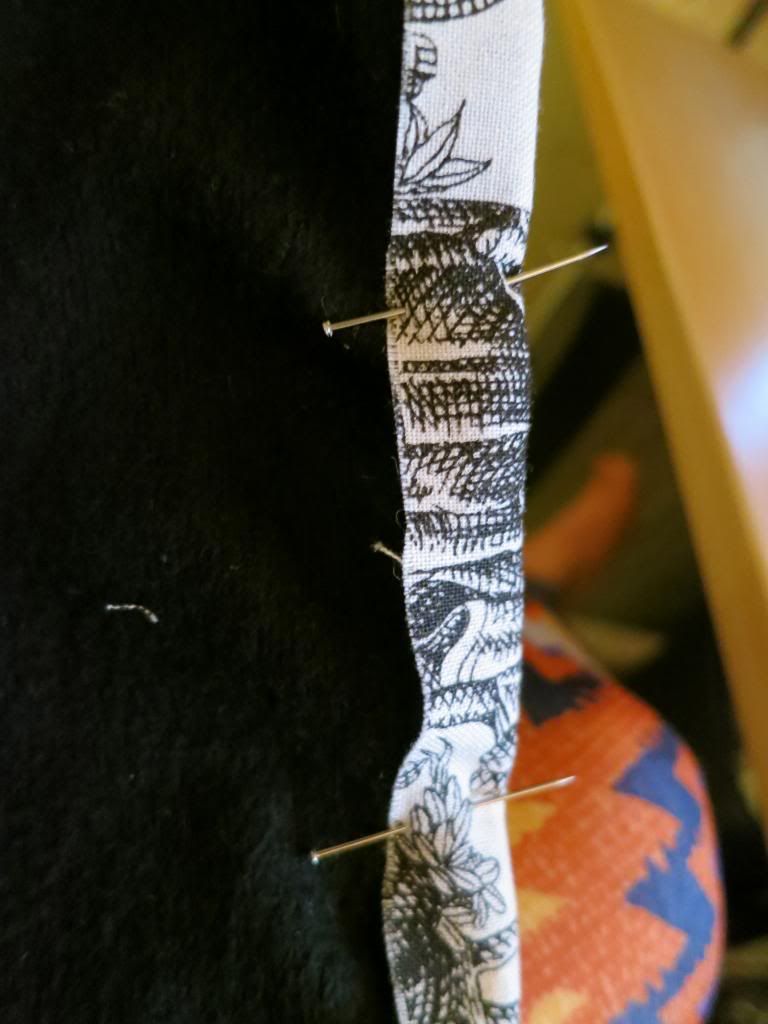
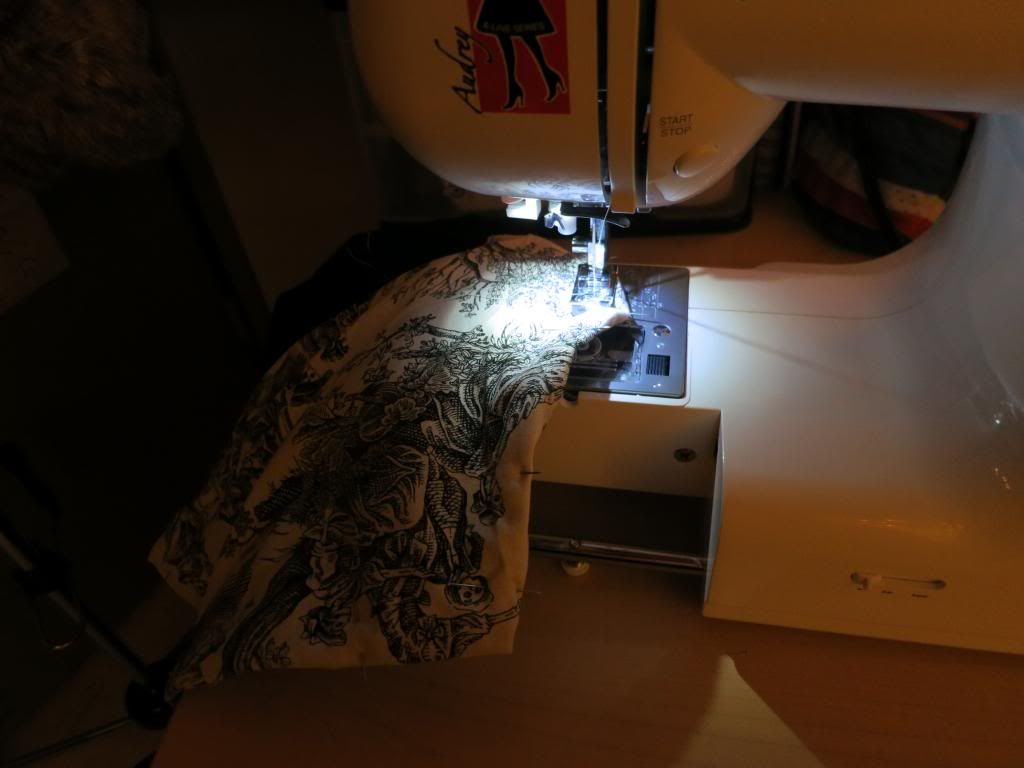
4. Sew the pinned down sides. So it looks something like this.
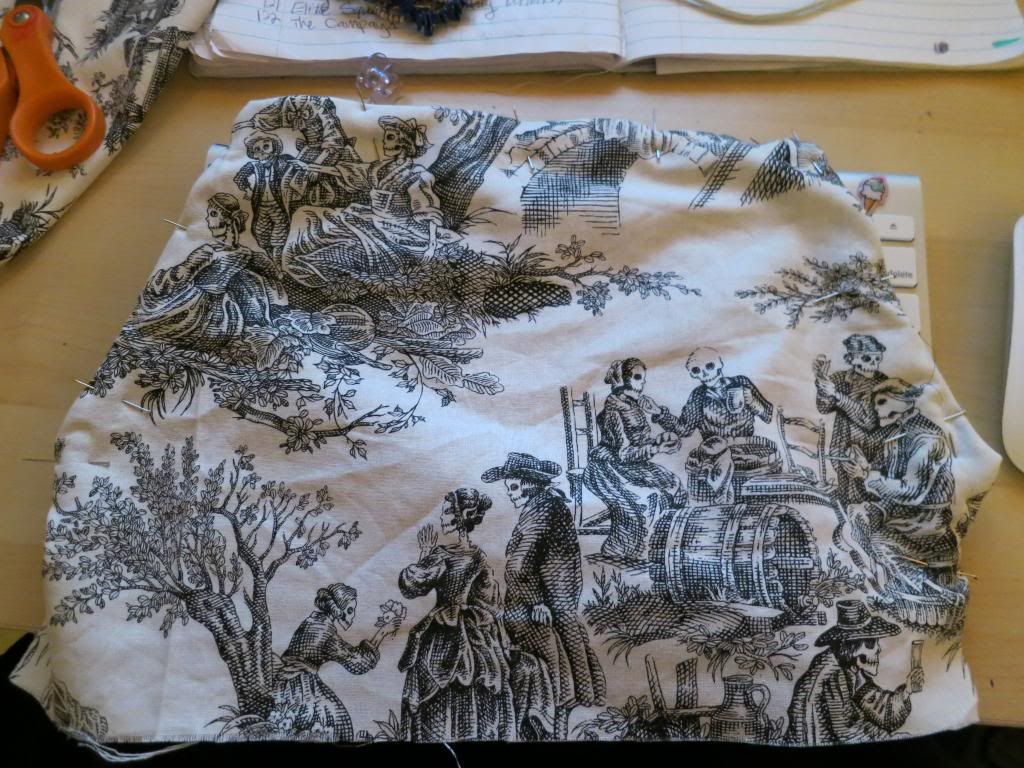
5. Sew just the top of pocket back to the hoodie.
6. Now cut the bottom of the pocket off. So the sides and bottom should be "free"
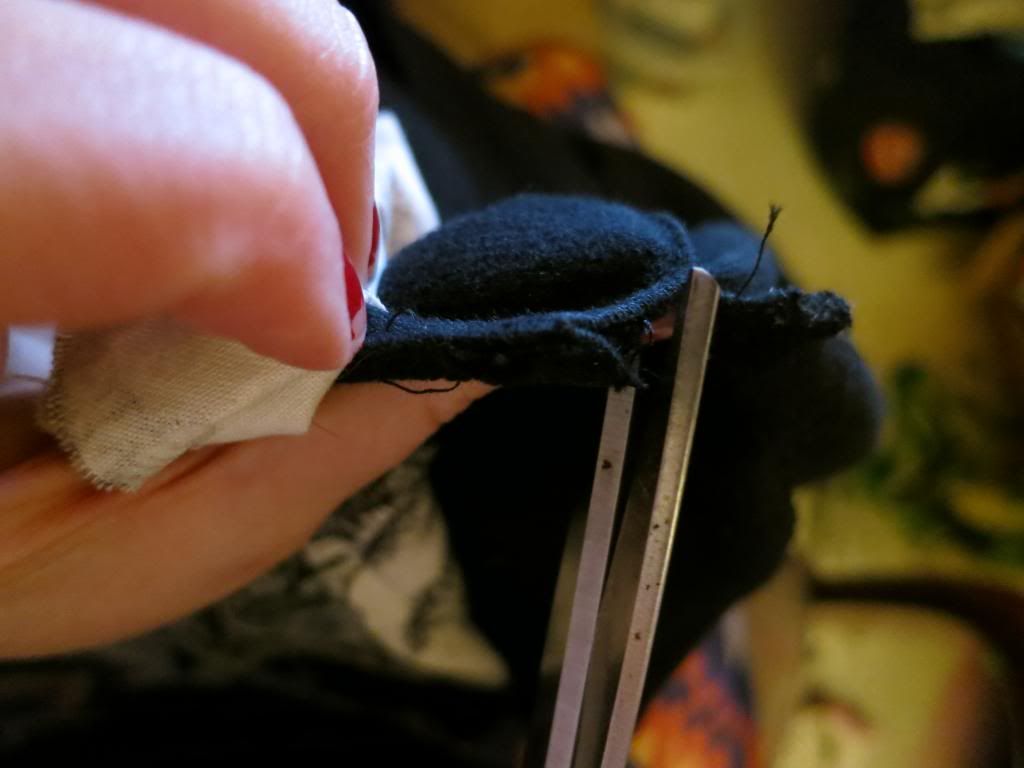
7. Pin down like in step 3, and sew like in step 4.
8. Now sew the bottom of the pocket and sides back to the hoodie.
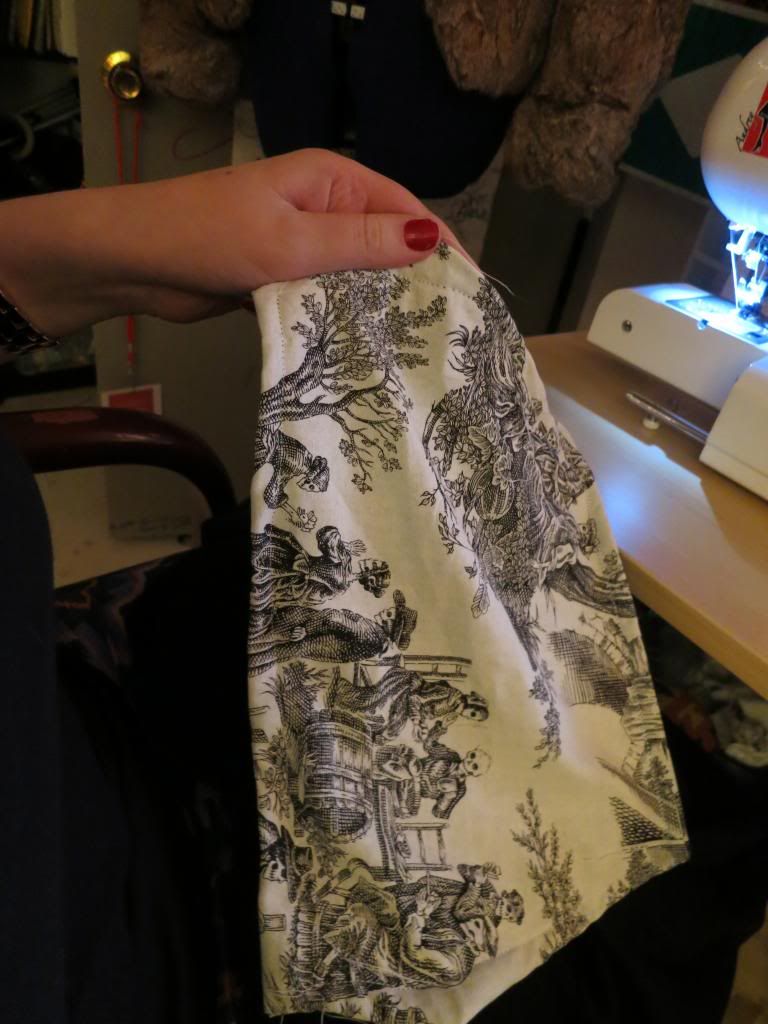
9. And my favorite step: wear & share.


No comments:
Post a Comment