Showing posts with label DIY Fashion. Show all posts

Thursday, August 15, 2013

DIY: "wearing a square"

 photo DSC_0045_zps0eb565bd.jpg

Still no constant daily style posts because I am trying to figure out a new camera situation. For the time being though you deserve a good old fashion DIY.

So, I was at Nordstrom a while back and saw this sweater for $38 bucks! Really? I mean, really?! I was not going to pay 38 dollars for that. 

Not to mention I wasn't a big fan of the cuts in the back so why not make my own, my own way.

 photo IMG_9981_zps79771bcc.jpg photo IMG_9982_zps4d33d2ce.jpg

On top of that; yesterday my mother and I went the Seattle Art Museum to check out the "Future Beauty: 30 Years of Japanese Fashion"exhibition where I got a lot of great inspiration ideas! I highly recommend it for everyone and anyone. I couldn't take pictures but I was able to take notes. 

A lot of best Japanese fashion is all about shapes and dimensions. My favorite thought was the idea of "wearing a square." Don't know what I mean? Well, I believe this DIY is an ideal example of that.

 photo DSC_0017_zps179f97b5.jpg photo DSC_0015_zps80435c25.jpg

And all you need is a sweater (mine: goodwill for $5.00) and a pair of scissors. 

 photo DSC_0018_zpsaa5eb51d.jpg

Fold the sweater in half, arm to arm, and then cut two or three inch slits equal distances apart.
 photo DSC_0024_zps41624dda.jpg

Cut on the seam of the arm but not around the neck.
 photo DSC_0023_zps51af09d2.jpg  

Like so.
 photo DSC_0026_zps58abc2de.jpg

Ideal for fall. Fashion that breaths. 

 photo DSC_0027_zpsb4a28e7b.jpg photo DSC_0028_zpsf22d71da.jpg  

It's just that easy. I love how space age it looks; something straight out of Star Trek. Enjoy!

 photo DSC_0059_zps9db70bd5.jpg

Friday, November 23, 2012

DIY: Hoodie Patch

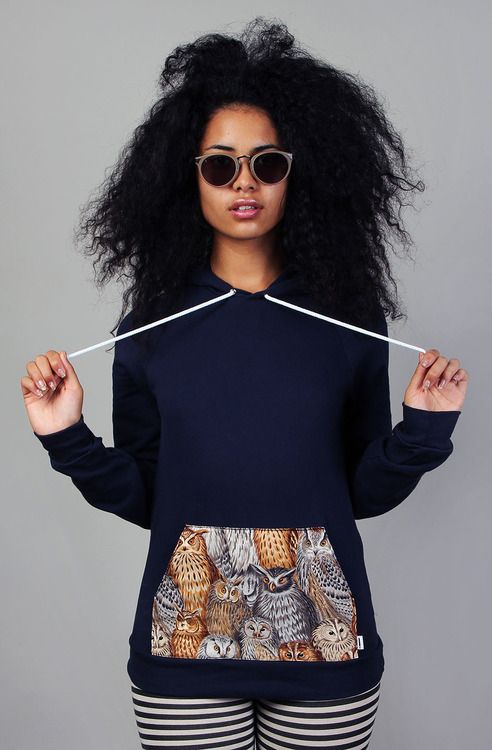
BAM! Go on tumblr find inspiration. 

Photobucket

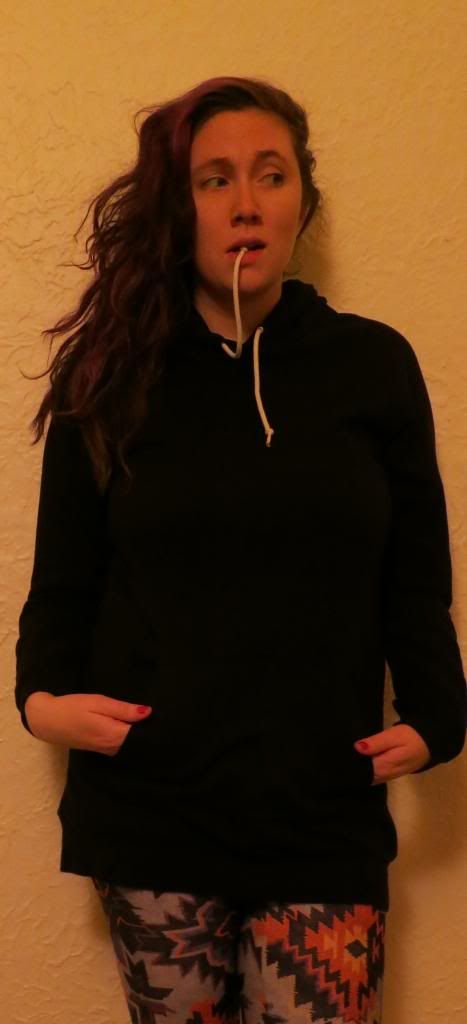
I bought this hoodie awhile ago from Red Light on Broadway in Seattle for $12.00. It's an American Apparel hoodie dress. I don't even think they make these anymore, but either way, for this DIY any plain pull over hoodie will do.

So I'll try my hardest to explain this DIY. With most of my DIY it's trail and error. This one for some reason took a few stupids ideas first to finally get the right look.

Supplies:
scissors
fabric with a pattern of your choosing
pins
thread
sewing machine (or if you can/want to hand sew)
pull-over hoodie

Photobucket Photobucket Photobucket
(Even for DIY I had to wear my MTTM leggings)

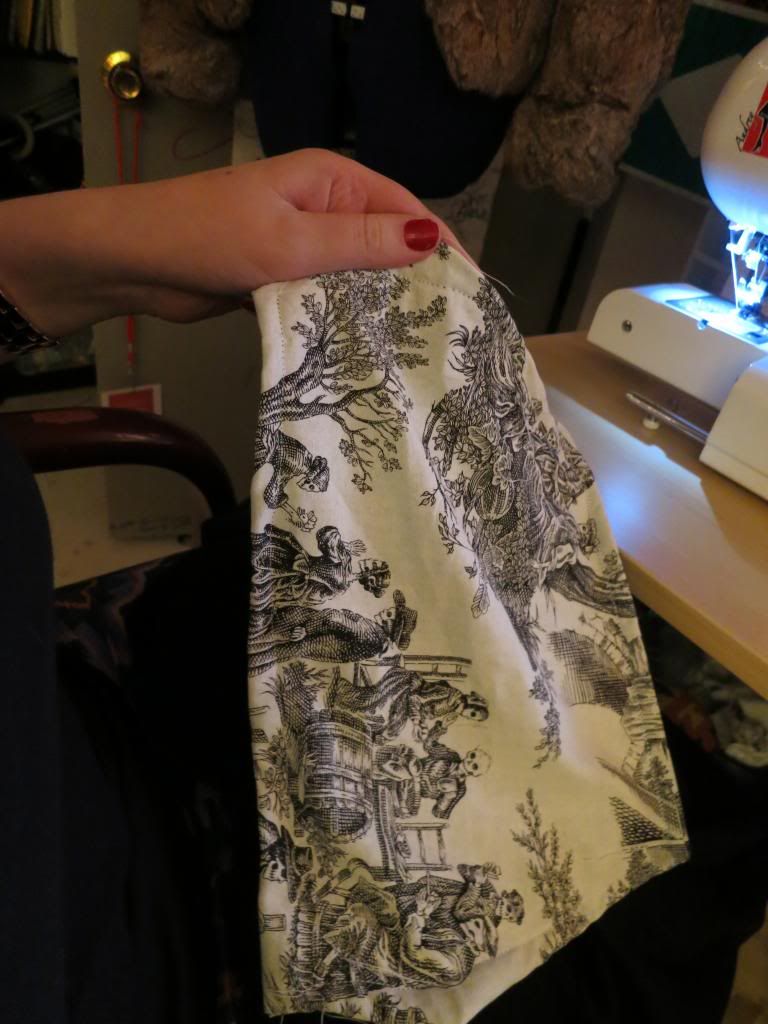
1. Using the hoodie pocket, trace and cut the size of the patch with your farbic. Make sure to give yourself about half of inch of room.

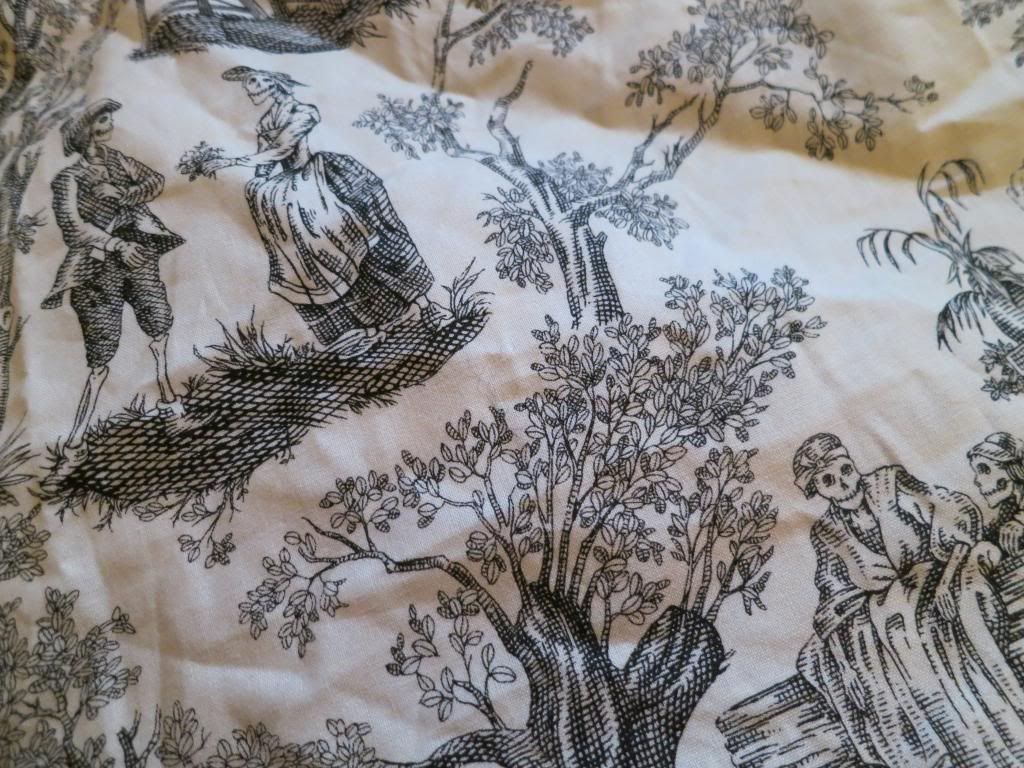
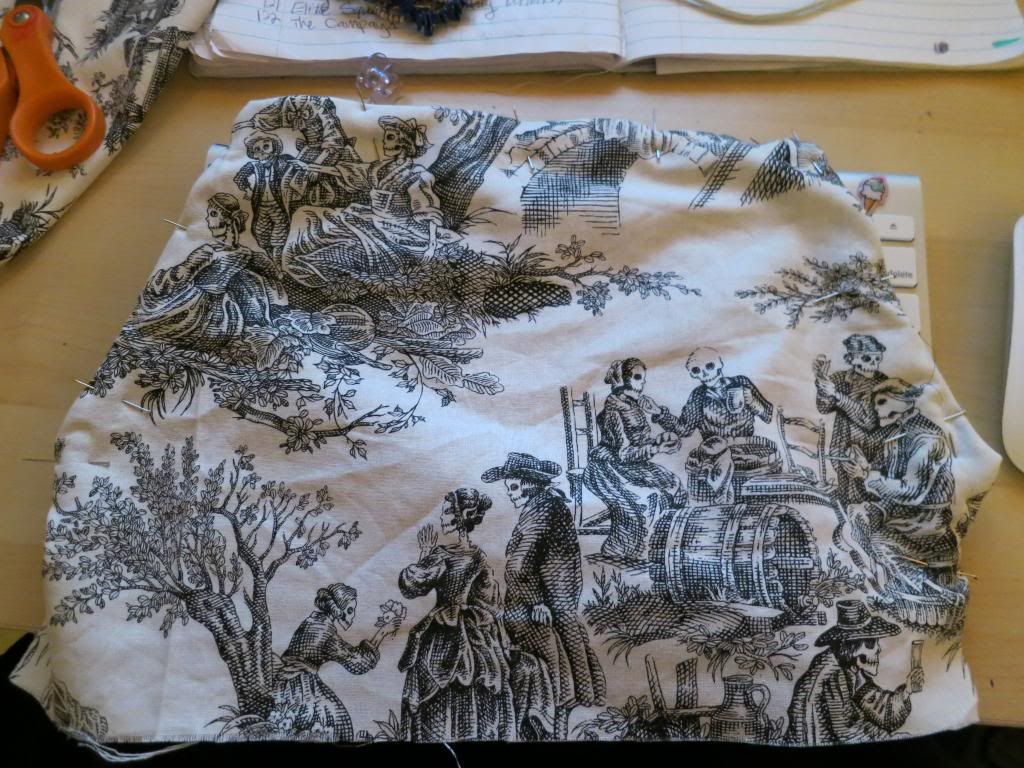
I had this awesome, strange skull one that I already made a shirt out of and had left overs.
Photobucket

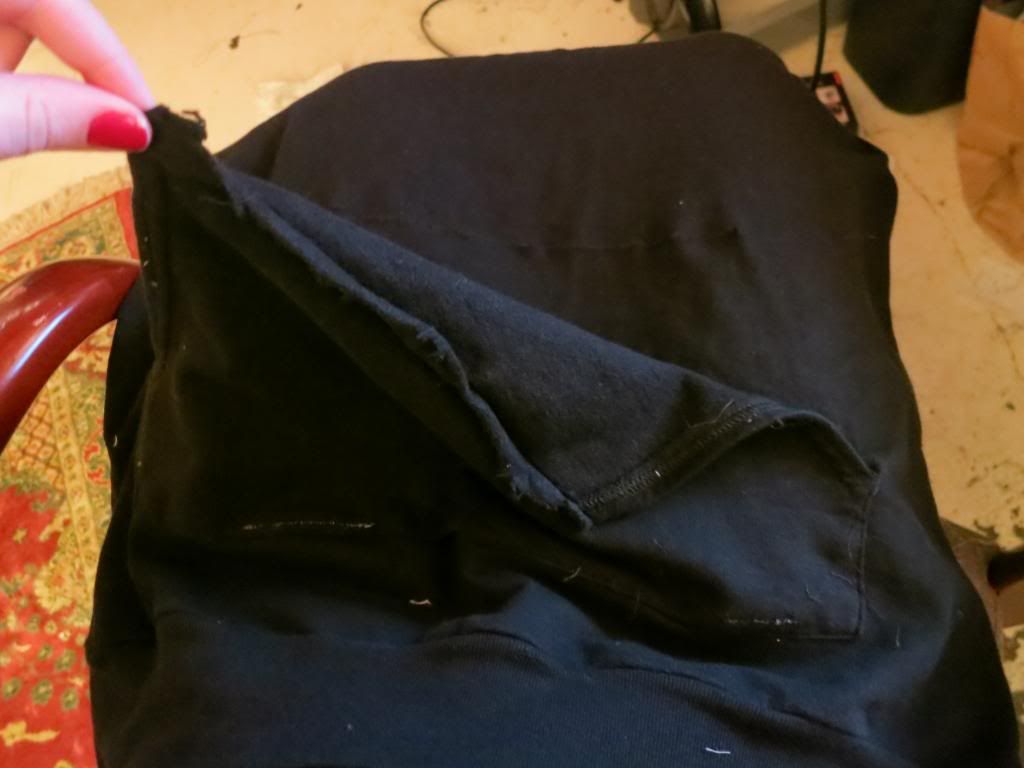
2. Cut the top of the pocket and side off. Keep the bottom attached to the hoodie.
Photobucket


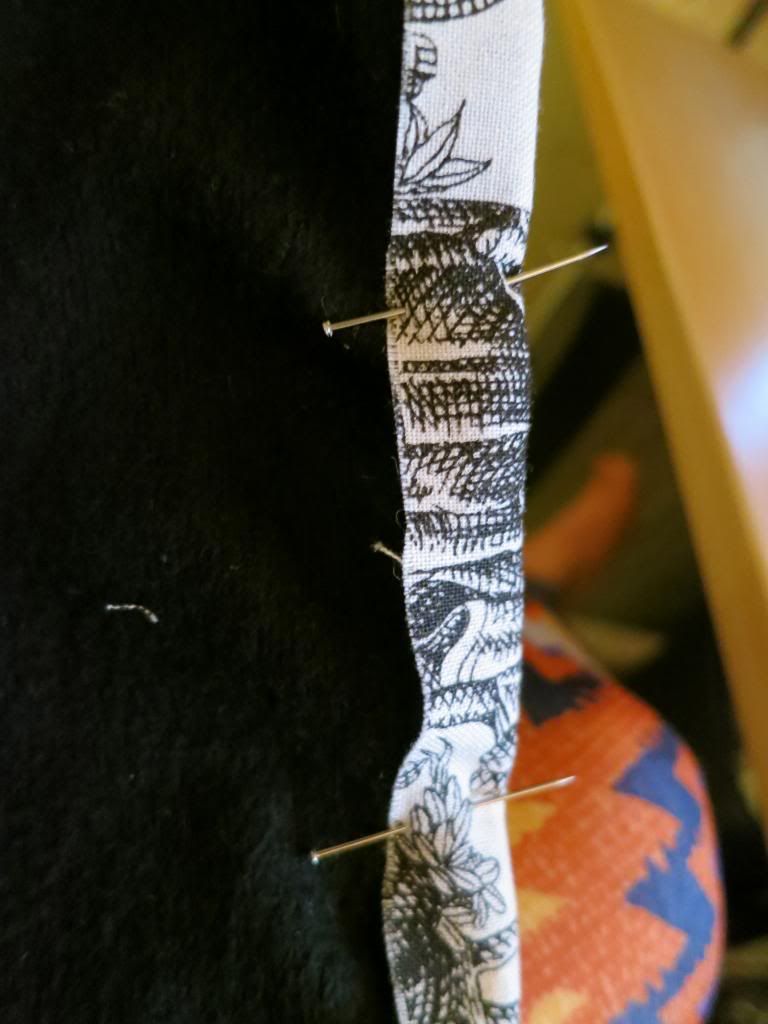
3. Fold and pin down your fabric all round your pocket. (Do no pin the bottom yet, just the top and sides.)
Photobucket


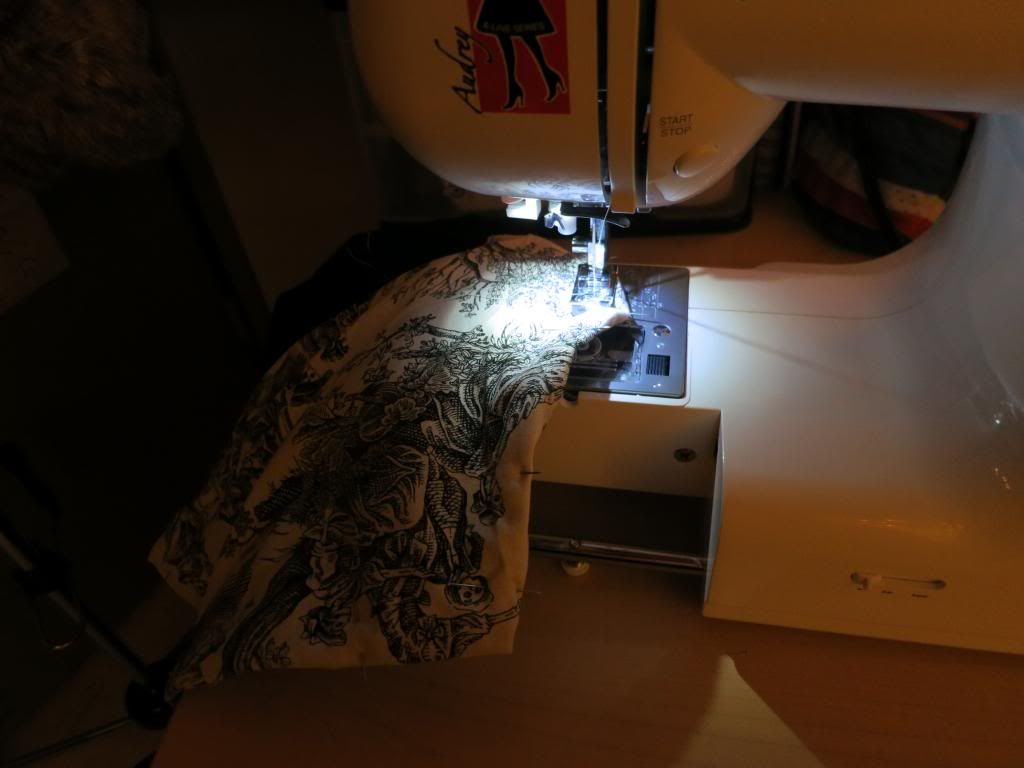
4. Sew the pinned down sides. So it looks something like this.
Photobucket

5. Sew just the top of pocket back to the hoodie.
Photobucket

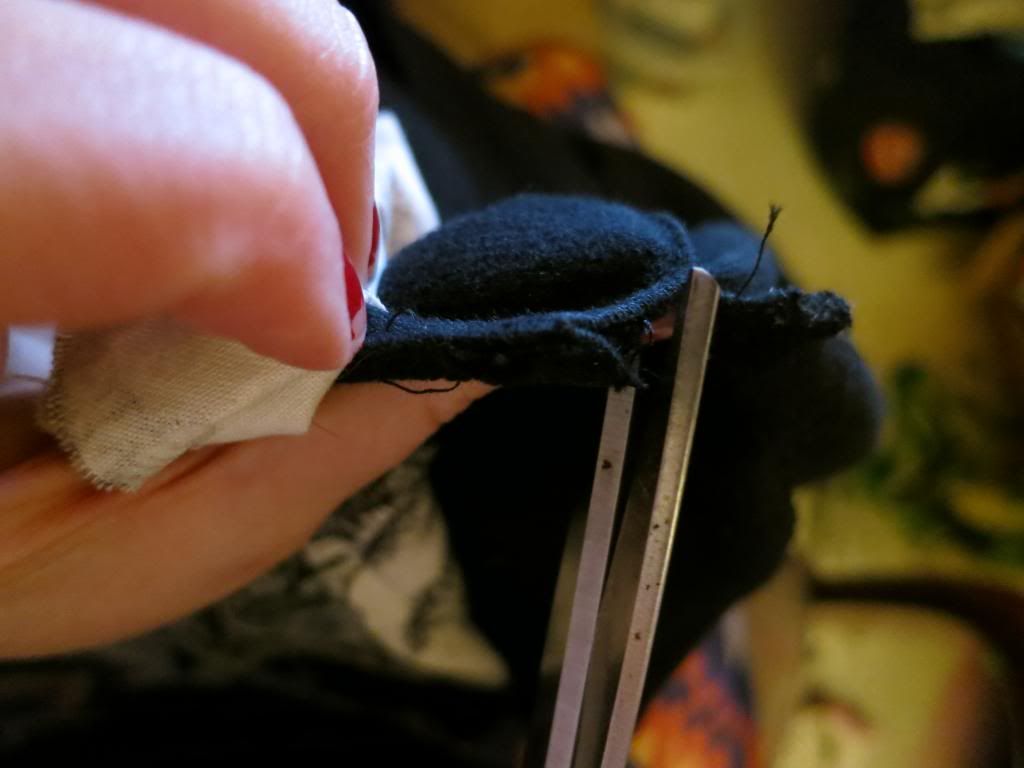
6. Now cut the bottom of the pocket off. So the sides and bottom should be "free"
Photobucket 

7. Pin down like in step 3, and sew like in step 4.
Photobucket

8. Now sew the bottom of the pocket and sides back to the hoodie.

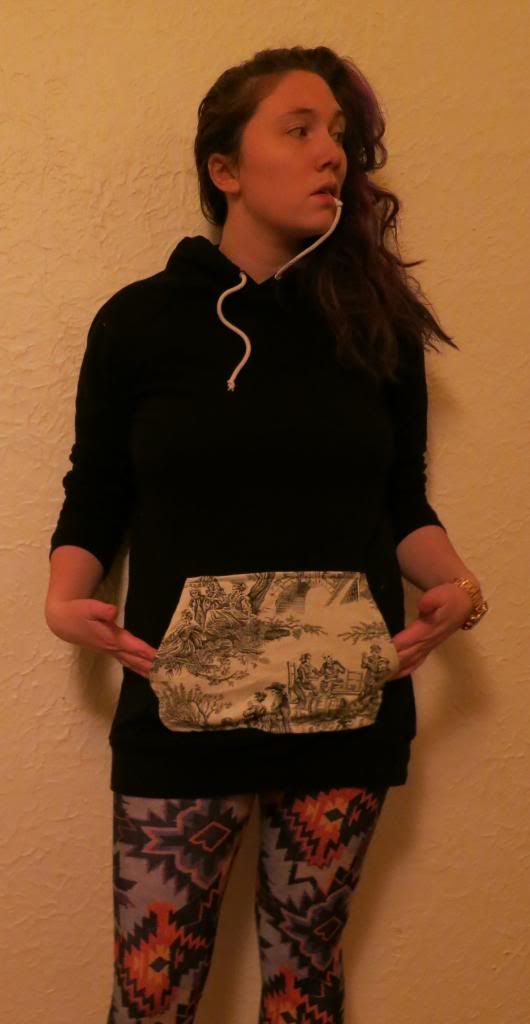
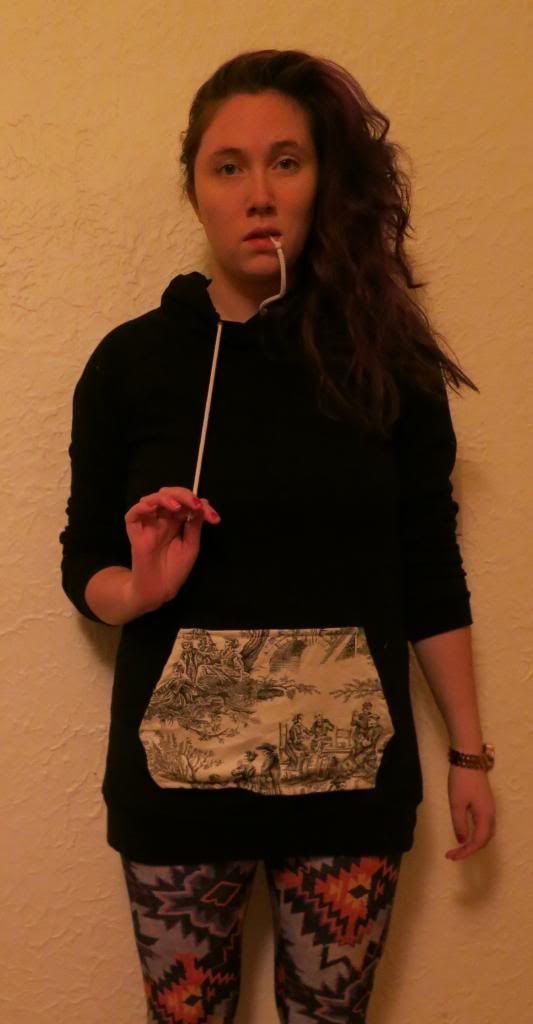
9. And my favorite step: wear & share.

Photobucket Photobucket
 Photobucket Photobucket

Monday, October 22, 2012

DIY: Charm Necklace

Got a burst of inspiration when I went to the beads store today. I was waiting for my bus and it was raining really hard so to stay dry I looked around the crafts store and got an idea.


Awhile back my pen pal Nate (a.k.a. bus stop bandits a.k.a partner in crime) sent me these great key chains. I thought they were the cutest things ever. I didn't know what to do with them until now.

ice cream cones

lighting bolds

Then this adorable winged guy

Supplies:
Charms
Necklace Chain (about 2 ft)
Fasterns/Clasps
Pliers


1. Open one of the ends of the chain. Now the secret with opening a chain is to open it like a "gate." Using the pliers to lift it away instead of pulling it wide. The reason is because when you pull open the chain apart it breaks easier.

2. Attach the necklace clasps

3. I found the "middle" of the necklace attached my main charm which is the little blue wing creature.

4. Then laying the necklace straight out I counted out so the other charms were evenly placed.

5. The best step: Wear it & Share it.

Not a fan of the charm necklace? Well, wrap that bad boy around your wrist. BAM! Charm Bracelets.

Thursday, October 18, 2012

DIY: T-shirt Scraps (Necklace & Headband)


I personally like the guy's t-shirts better than girls. I like the cut better plus I got big boobs so there's more room. (If I being perfectly honest) But the first thing I always, always do with a guys shirt I get is cut about inch off the bottom. I do this because the shirts are sometimes too long. 

Whenever I do that I have left over scraps of fabric. Being a guttersnipe, I don't want to waste them so I of course use it.

First up: The Necklace

Supplies:
T-shirt Scraps
beads/pearls/jewelry
scissors


1. Cut the t-shirt fabric the long ways until you get a bunch of long strips. Pull one piece aside.

 2. With the other remaining strings tie together.

3.Using the piece you put a side, tie your beads or jewels like so.

4. Make sure they are all different lengths.

 5. Lastly tie all the small hanging strands on to the larger strip. Then wrap around your neck as many times as needed. Adjust as needed.

Now: Wear & Share!
(Also... makes really cool art too)


Second: Starry Headband

This is best to use the scrap of fabric that has the hem on it or is thicker in length.

Supplies:
T-shirt Scraps
Glue Gun
mini stars (can be found at arts & crafts stores)


Tip: Cut the t-shirt scarp once so it's not one big band. This way you don't have to cover the whole surface and can tie it instead.

 1. Get the glue gun hot enough and dribble a "messy" line of glue on the head band.

2. Then sprinkle the stars over the glue. Do this quickly so the glue doesn't cool down.

Tip: Wait for the glue to cool down before you remove any loose stars or ones that did not attach.

once again my favorite step: Wear & Share!